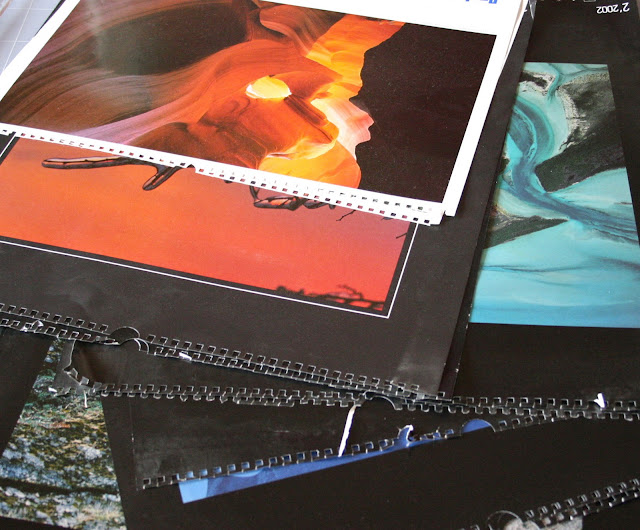
Perhaps, like me, you just changed your calendar and you don't feel like throwing away the old one, with all those beautiful pages. But still, it's taking so much room!...
Here's a solution. Transform them into gift boxes you can use all year around.
Peut-être, comme moi, vous venez de changer de calendrier et vous ne vous décidez pas à jeter l'ancien, avec toutes ces belles pages. Mais tout de même, cela prend tellement de place!...
Voici une solution. Transformez-les en boîtes cadeau que vous utiliserez tout au long de l'année.
Use a large quilting ruler, or make a square cardboard template with the back of your calendar. Cut one square as large as possible, and from a second page, a square half a centimeter smaller (or 1/4 inch) (Box/lid difference)
Utilisez un grand carré de coupe pour le patchwork ou faites un gabarit carré en carton avec le dos du calendrier. Couper un carré aussi grand que possible, et dans une autre page, un carré plus petit de 1/2 cm. (Différence boîte/couvercle)
Pliez le carré selon ces instructions.
Store the boxes flat, and put them in their 3D shape only when you need them. They won't take any room.
Conservez vos boîtes à plat, en ne les mettant en 3D qu'au moment où vous en avez besoin. Elle ne prendront ainsi pas de place.


this is a great idea! now I know what to do with all of my old calenders.
RépondreSupprimerI have a whole box of calendar pages saved from calendars I had saved for years and years. Beautiful photography in brilliant colors. this is a perfect way to use them. PERFECT! Thank you so much for sharing this idea.
RépondreSupprimerBeautiful!
RépondreSupprimerIt's actually possible to make the lid using a paper the same size as the bottom (which makes it faster and easier when cutting if you are doing several pieces at once).
To do so, you just need to adjust steps 3 and 5 of the instructions. When folding the sides in, make sure you don't fold them all the way to the middle, but that you keep a bit of space in between (a few millimeters will do). That way your lid will fit around the base of the box!
merci pour cette belle idée ..
RépondreSupprimer